
Kill the application and let the container be spawned.
Maester Aemon, our Docker guru
Introduction
Alice, our QA was really excited to share her new discovery, the Docker. She was lucidly explaining to her colleague Sarah what docker is and what can be done through docker. But Sarah was not really excited. Sarah was a veteran and she had seen so many hypes in the tech industry. This seemed to be too good to be true. She was listening just out of courtesy, which Alice eventually found out.
“Look, I already have an existing application, how can I make a container of it?”, asked Sarah. “That is quite easy”, Alice replied, “Let me show you how to create a docker container of a Spring Boot application that I have developed.”
Pre-Requisites
First things first, make sure that you have the following softwares installed in your machine:
- JDK 8
- Docker Engine
- Apache Maven
- The Application
We are going to create a Docker container out of a Spring Boot application. Lots of Sample Spring boot applications are available on the internet. We can download one from here. Whatever project you download, just make sure that it is error free. You can use the following Maven command to test it:
mvn clean compile 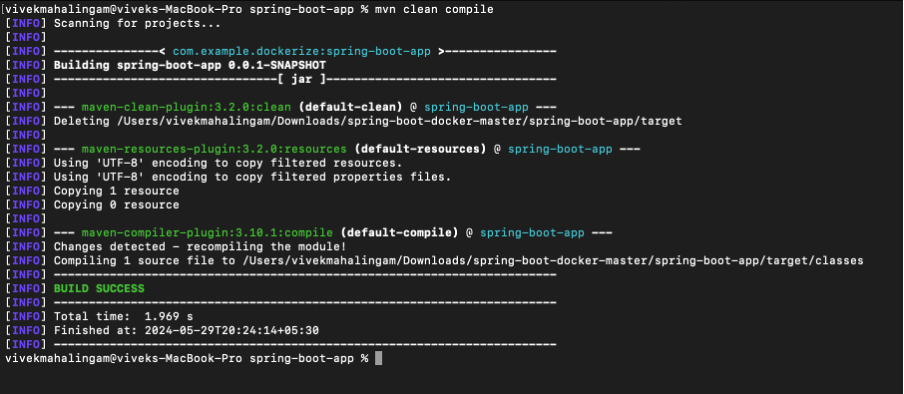
Hopefully, it got compiled without any error. So far, so good. Now we just need to run the application just to see if it’s working fine. You don’t want to containerize an application that is buggy.
A word about Maven
Now, we will be using some maven commands for the purpose of compiling, running and packaging our spring boot application. Maven is a build automation and project management tool for java-based projects. So why are we using maven?
The answer is very simple. Imagine you are developing an application. You are using some existing Java libraries to develop the features of your application. Once developed, we need to push our code in GitHub or any other repository. Are we going to push all the dependencies along with our code?
What if you could specify all the dependencies somewhere, and when you download the project, you can automatically download those dependencies? That’s exactly why we use Maven. Maven lets you specify the dependencies in a file called “pom.xml” file. Maven provides you with commands to download the dependencies. It also does many awesome stuffs. Learn more about maven from here.
We can run the application using Maven as below:
mvn clean spring-boot:runIf all goes well, you will see the application running.

The Dockerization
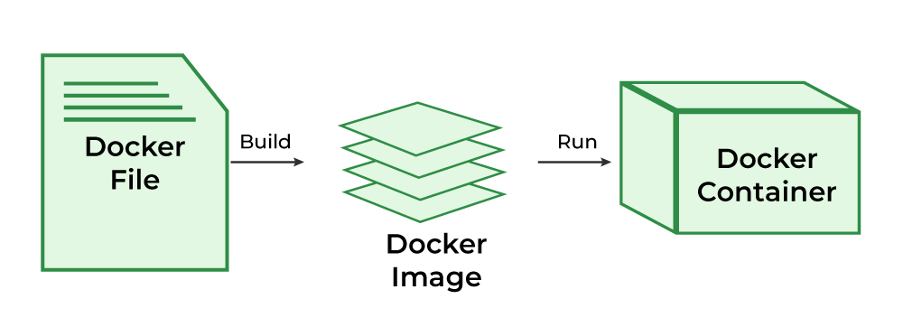
We all know about containers and how containers are generated from Docker images. Dockerfile is a file that contains instructions to generate a Docker image out of an Application aka Dockerization of an Application. The Docker reads your Dockerfile and creates an image from it.
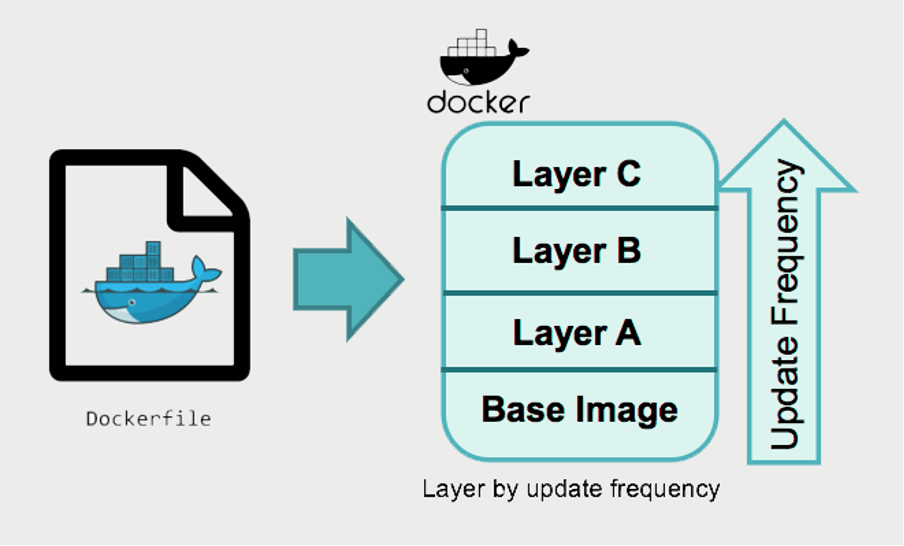
The instructions in the Dockerfile are written in special syntax called DSL(Domain Specific Language). Let us see a sample Dockerfile:
FROM openjdk:8
VOLUME /tmp
EXPOSE 8080
ARG JAR_FILE=target/spring-boot-docker.jar
ADD ${JAR_FILE} app.jar
ENTRYPOINT ["java","-jar","/app.jar"]
The words highlighted are the reserved keywords in the DSL. They have a special meaning. Let us now try to understand them
FROM
This keyword is used to specify the base image from which you are building your docker image. It is just like the concept of inheritance in programming language.
Imagine a Scenario where you have a parent and a child. The child has all the features of the parent. In addition to it, the child also has extra features. Similarly, in docker, we can create a new image by extending the features of an already existing image. The new image will have all the features of the existing image. In addition to it, the new image will have additional features.
Now the “FROM” keyword in the docker file is used to specify the base docker image from which we are going to create our new image. In our case, we are creating a docker image of a spring boot application, which is basically a java application. Hence, we have specified the jdk image as the base image.
VOLUME
This keyword specifies the location of the persistent storage space for your docker container. This is that location which the container can use to store any data permanently.
EXPOSE
This specifies the port number of the container that will be exposed.
ARG
It defines the variable that is passed to the container at runtime. In our example, we pass the location of the jar file of our spring boot application into the JAR_FILE variable and pass the JAR_FILE as a runtime variable.
ADD
This copies files from a source and paste it in our specified location inside our docker container. In our example,
ADD ${JAR_FILE} app.jarThe jar file in the location target/spring-boot-docker.jar is referenced as app.jar inside the container. I know this can be a bit complicated to understand. But let me explain it to you.
Imagine you have a telephone directory with the “Names” and “Phone Numbers”. If you want to call a person directly, you use their name. But If you want to call that person via a mobile phone, you use their phone number.
Similarly, we can refer a file in a normal machine by its path. But if we want to refer it through our docker container, we specify its alias through the “ADD” parameter.
ENTRYPOINT
It specifies the command that Docker will use to run our app
cd /tmptouch DockerfileFROM openjdk:8
VOLUME /tmp
EXPOSE 8080
ARG JAR_FILE=target/spring-boot-docker.jar
ADD ${JAR_FILE} app.jar
ENTRYPOINT ["java","-jar","/app.jar"]
Note: The location mentioned in the VOLUME keyword of your Dockerfile is the place where you will save your Dockerfile
This is all the configuration that we need.
Packaging the Application
We now package our spring boot application into a jar file. We run the command
mvn installThis generates a file called spring-boot-docker.jar inside the target folder of our Springboot application.
Now generate the Docker image using the following command. Copy it as it is:
docker build -t spring-boot-docker:spring-docker .When the command is run successfully, you will get the following output

Here the “-t” is used to give a tag name to our Docker image. The tag name is basically used to indicate the different flavors of your application.
We can verify if the docker image got generated or not using the following command:
docker image ls | grep spring-bootThe output of the above command is as follows:

Verifying the Docker Container
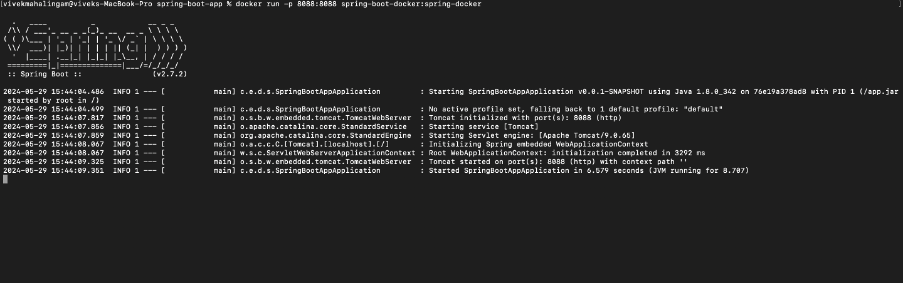
Congratulations on coming so far! Now we have a docker image of the spring boot application. Now let us try to verify if we can create a container out of that image. We will then run the docker container created. For that, we will use the following command:
docker run -p 8080:8080 spring-boot-docker:spring-dockerOnce you run the above command, you should see the spring boot application getting started as a Docker container as follows:
Conclusion
In this blog, we saw how we can dockerize an application. These steps have been explained using a sample spring boot application. They can be extended to any other application. We also dived deep into DSL based Dockerfile. Try to follow these steps for any of your application that you are developing. Do let us know about your experience.